


















How to Clean and Maintain Your Hearing Aid: 7 Essential Steps for Clearer Sound and Longer Life
Introduction
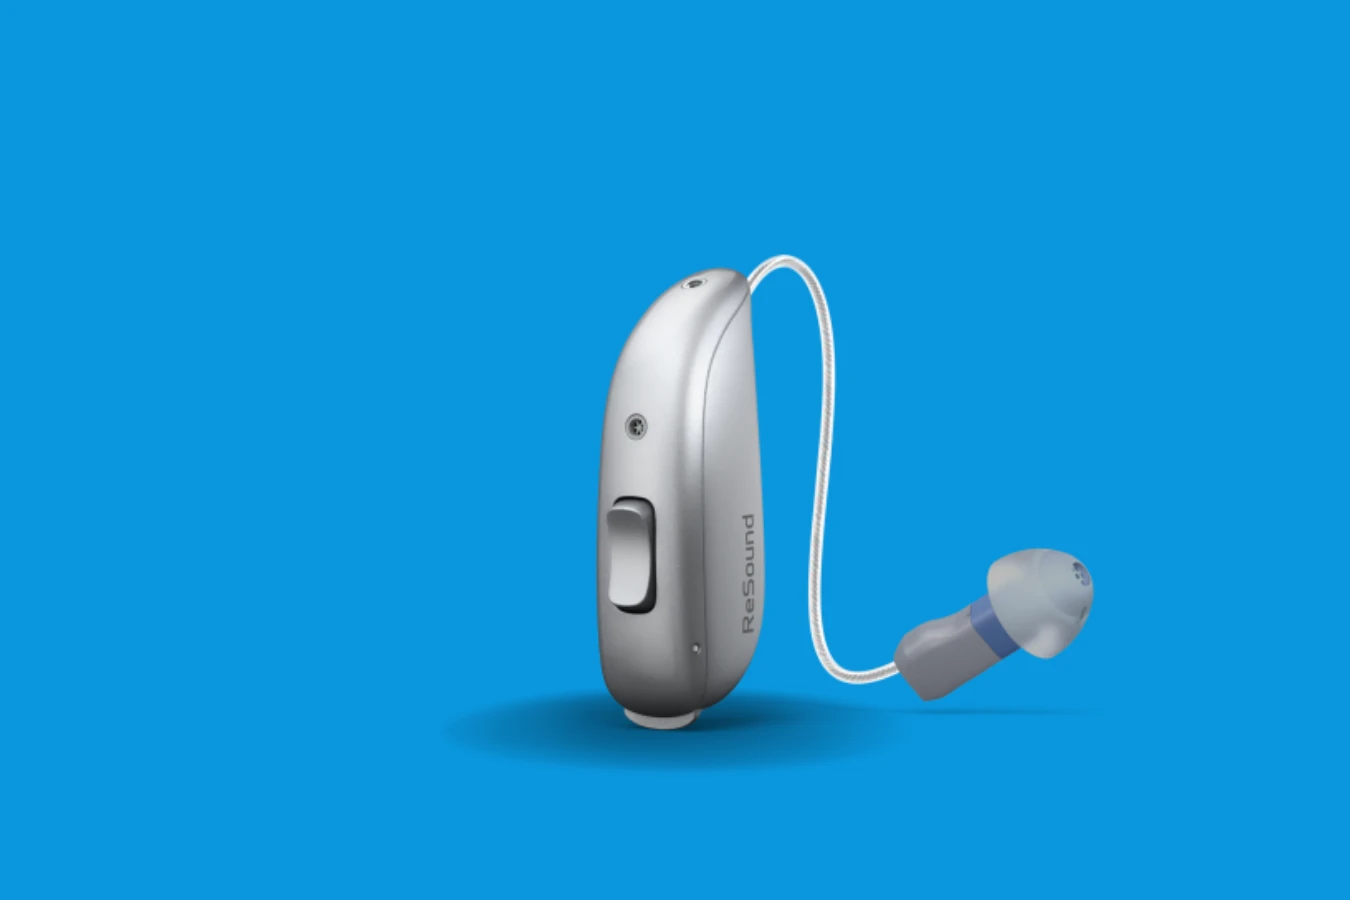
Your hearing aid helps you stay connected to conversations, relationships, and important moments. However, because the device sits inside or behind your ear for several hours each day, it regularly encounters earwax, moisture, dust, skin oils, and cosmetic products.
Without proper hearing aid maintenance, these substances can block the microphone, receiver, dome, or tubing. As a result, the device may produce weak, distorted, or intermittent sound. Regular cleaning can protect performance, improve comfort, and reduce avoidable repairs.
According to the National Institute on Deafness and Other Communication Disorders, approximately 28.8 million adults in the United States could benefit from hearing aids. This highlights the importance of understanding how to care for these valuable devices correctly. NIDCD hearing statistics
The following seven steps will help you establish a safe and practical hearing aid cleaning routine.
1. Prepare a Clean and Dry Workspace
Before handling your hearing aid, wash and thoroughly dry your hands. Next, place a soft towel on a clean, well-lit table. The towel protects the device if you accidentally drop it and makes small components easier to find.
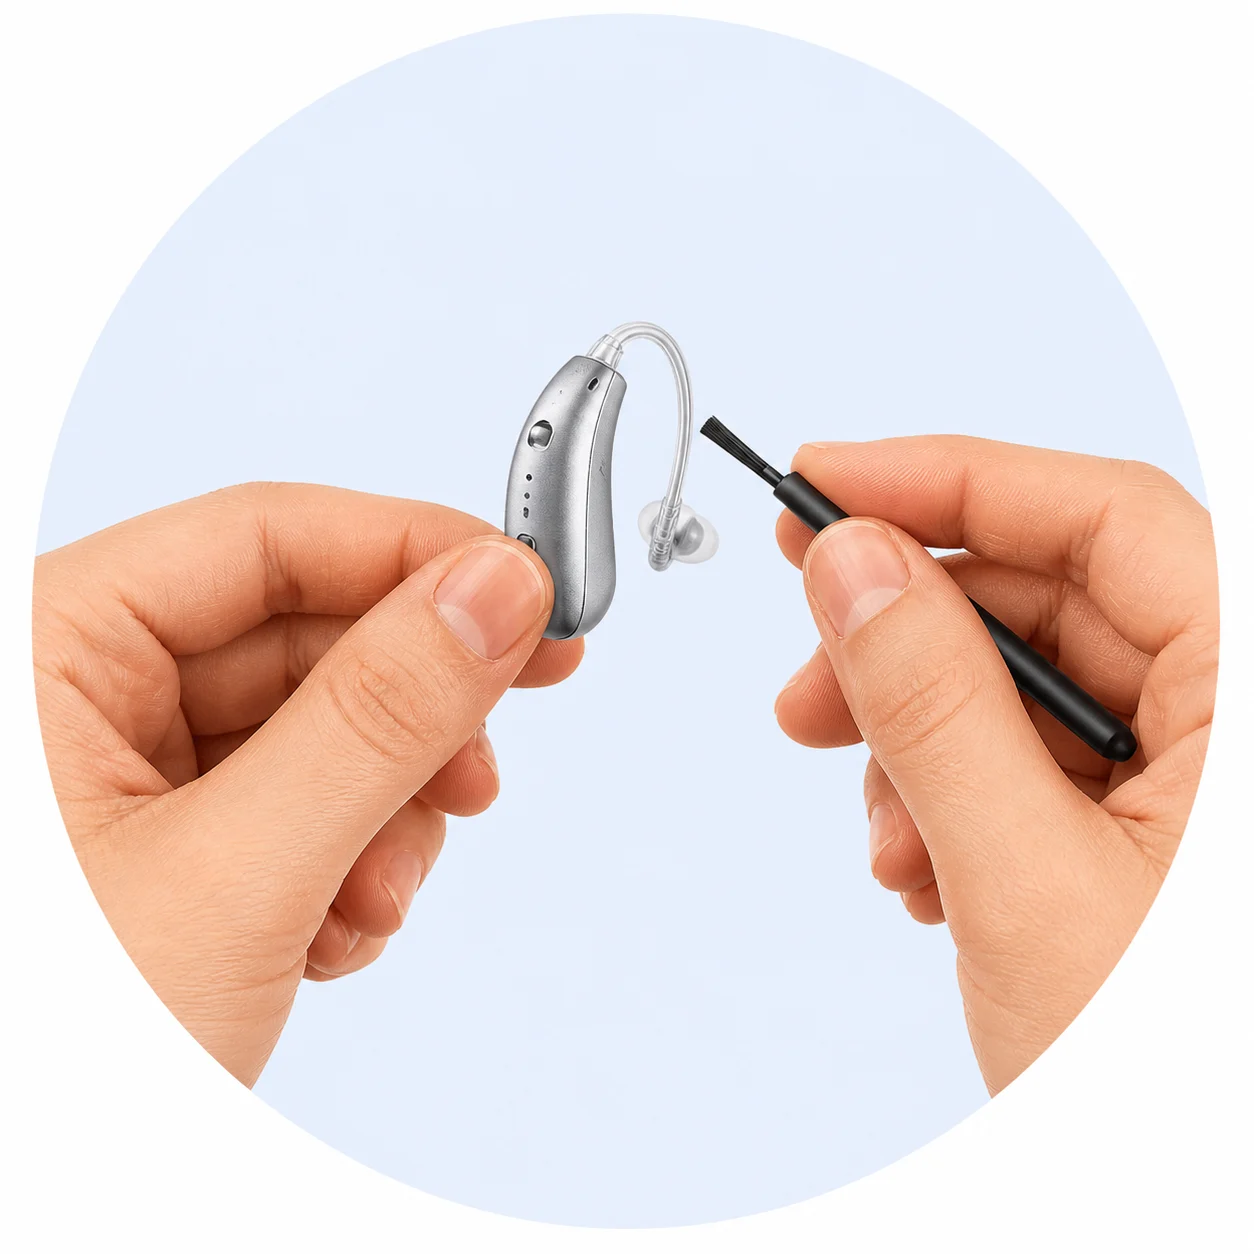
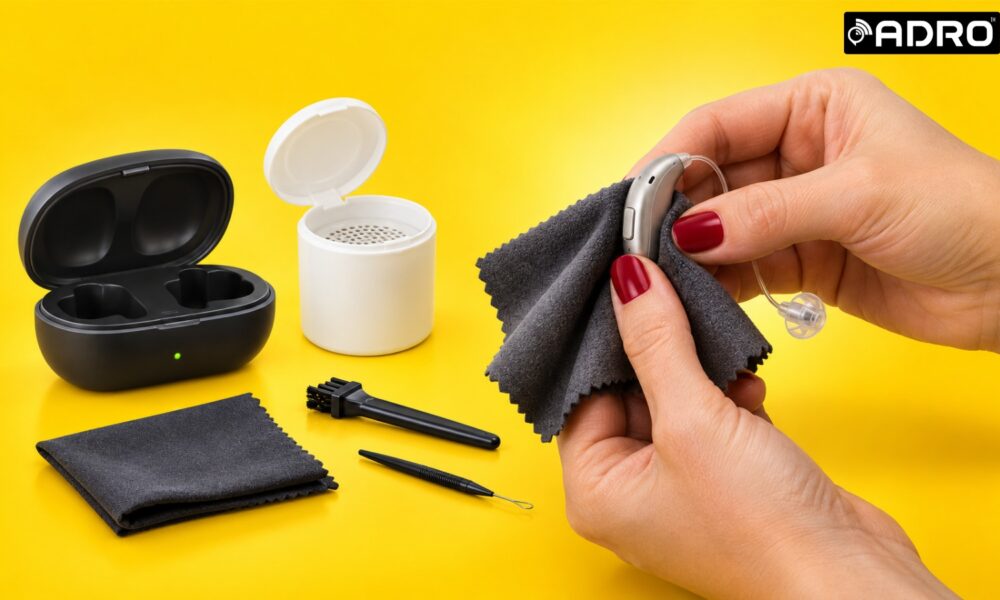
Use only tools recommended for your hearing aid model. A basic hearing aid cleaning kit may include:
- A soft, dry microfiber cloth
- A small cleaning brush
- A wax loop or pick
- A vent cleaner
- A tube-cleaning wire
- Replacement wax guards
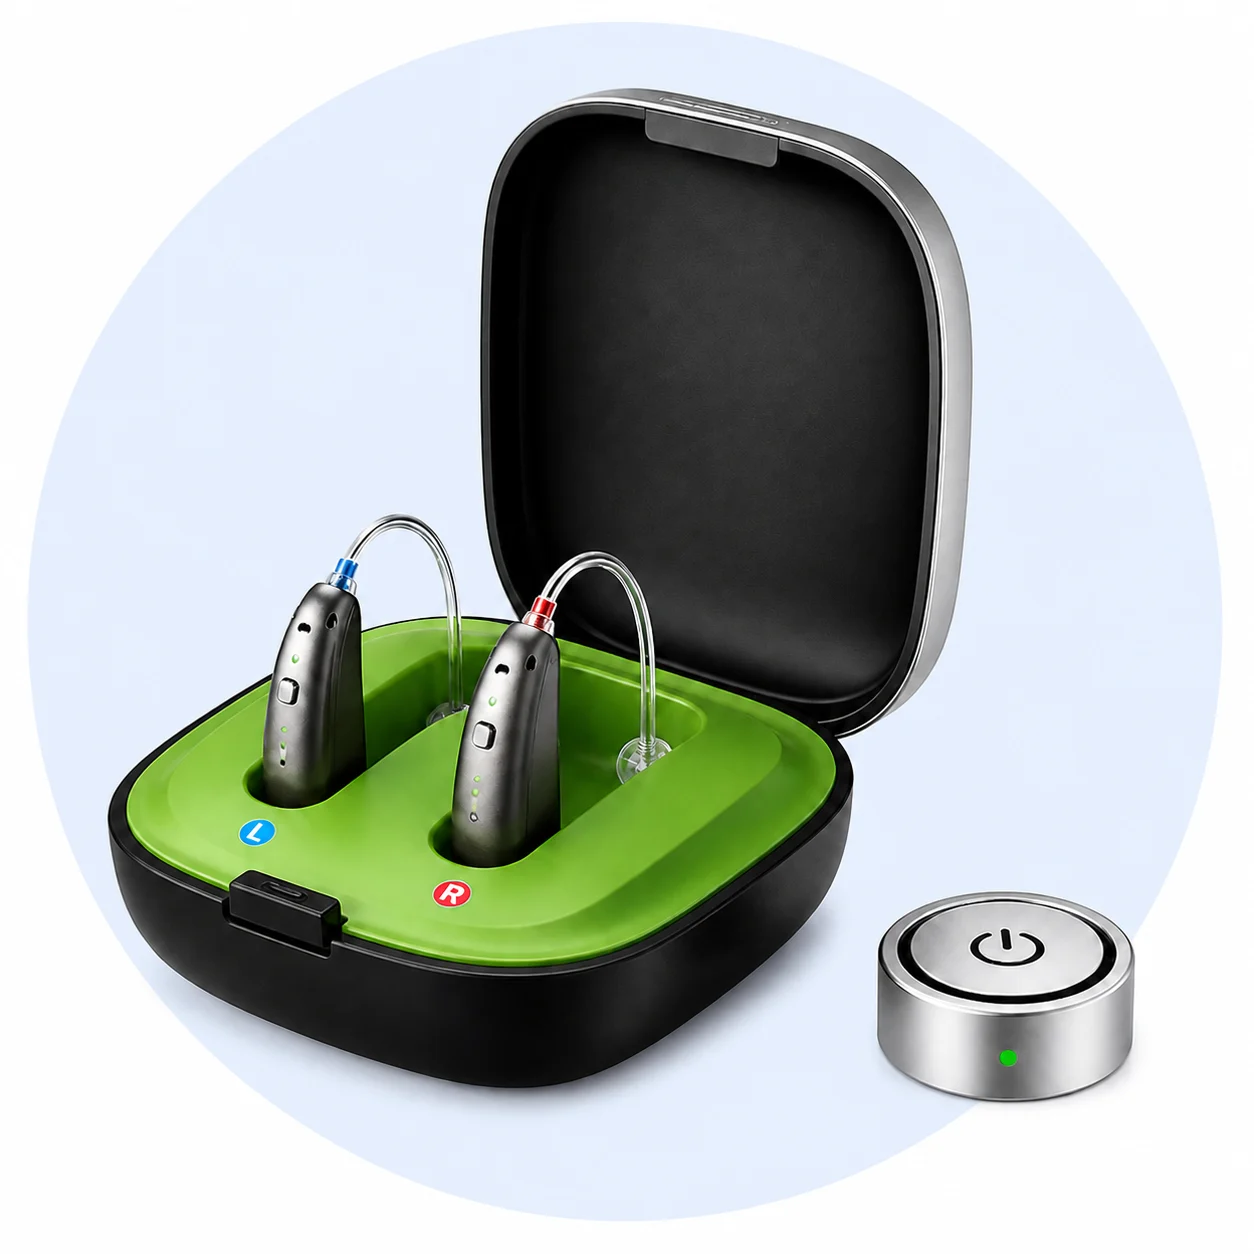
- A hearing aid drying container
Always read the manufacturer’s instructions before cleaning. Hearing aid designs vary, so a method that works for one model may damage another.
2. Wipe the Hearing Aid Every Day
After removing your hearing aid at night, gently wipe its outer surface with a clean, dry cloth. Pay particular attention to the areas that touch your skin or enter the ear canal.
Daily wiping removes fresh earwax and oils before they become dry and difficult to clean. It also gives you an opportunity to inspect the casing for cracks, loose parts, or other visible damage.
Hold the hearing aid with its opening facing downward while brushing it. This position encourages loosened debris to fall away instead of moving deeper into the device.
Never insert pins, needles, toothpicks, or other household objects into the hearing aid. These items can damage delicate internal components.
3. Remove Earwax Carefully
Earwax is natural and protects the ear canal. Nevertheless, it can collect around hearing aid domes, earmoulds, receivers, and sound openings. A significant blockage may reduce volume or make the hearing aid appear to have stopped working.
Use the supplied brush or wax-removal tool to clear visible debris gently. If your hearing aid has a replaceable wax guard, inspect it regularly and replace it according to the manufacturer’s instructions.
Do not push the cleaning tool deeply into the receiver opening. Furthermore, never try to remove impacted earwax from your ear with a hearing aid tool. If you experience ear pain, blockage, discharge, or excessive wax, consult an audiologist or qualified medical professional.
4. Protect the Device from Water and Moisture
Moisture is one of the most serious risks to hearing aid electronics. Remove your hearing aid before:
- Showering or swimming
- Using a sauna
- Applying hairspray or perfume
- Washing your face
- Visiting a salon for hair treatments
The U.S. Food and Drug Administration advises users to avoid applying water, alcohol, or solvents to hearing aids because they may damage the internal electronics. The FDA also recommends protecting the devices from excessive heat. FDA hearing aid care guidance
If you sweat heavily or live in a humid climate, consider using a drying box or dehumidifier approved for your model. However, do not place the device near a heater, inside an oven, under a hair dryer, or in direct sunlight.
If the hearing aid becomes wet, turn it off and contact your hearing care provider. Do not attempt to dry it using intense heat.
5. Clean Domes, Earmoulds and Tubing Correctly
Cleaning requirements depend on your type of hearing aid.
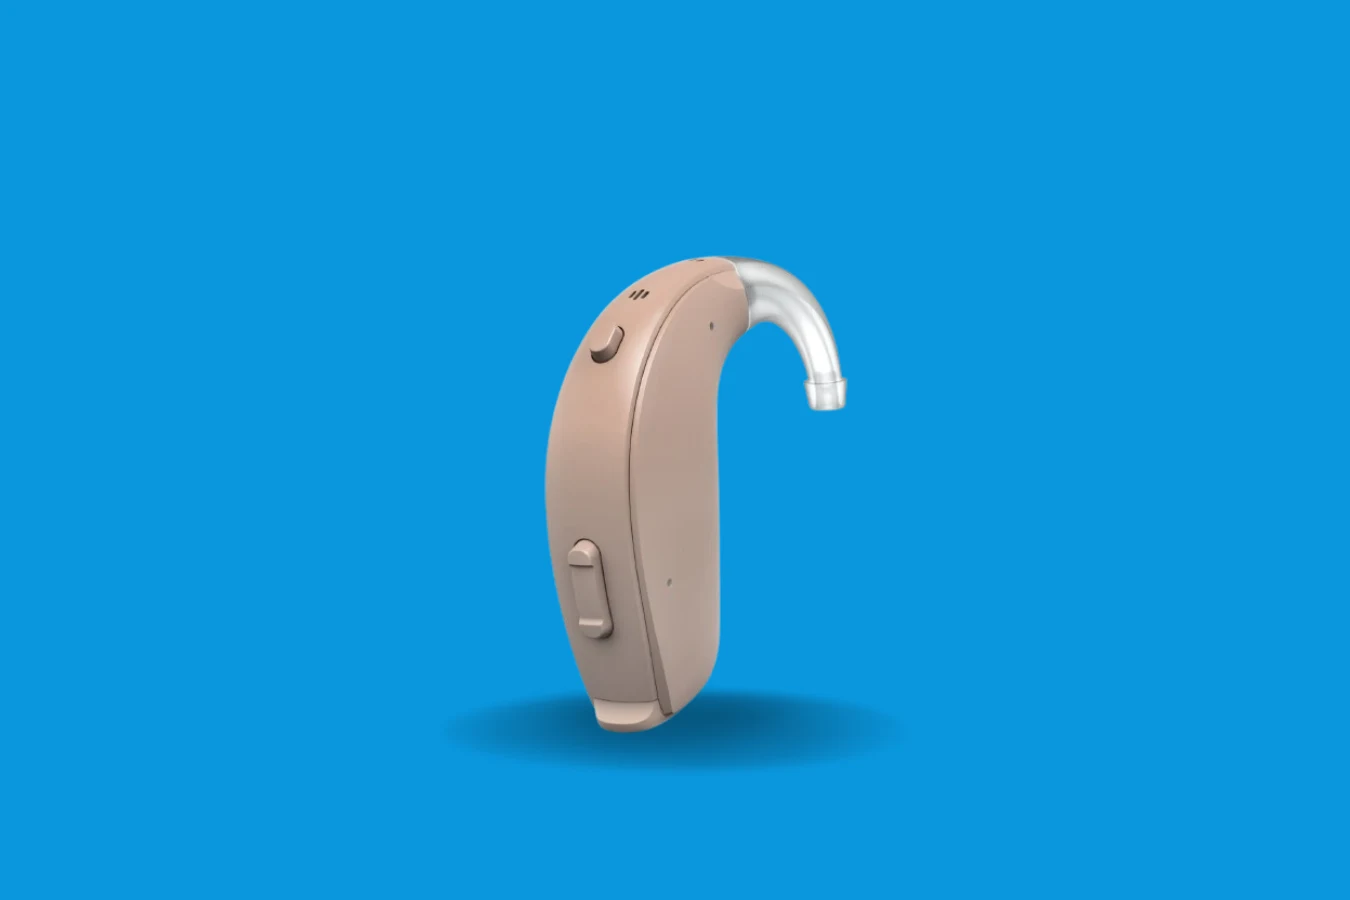
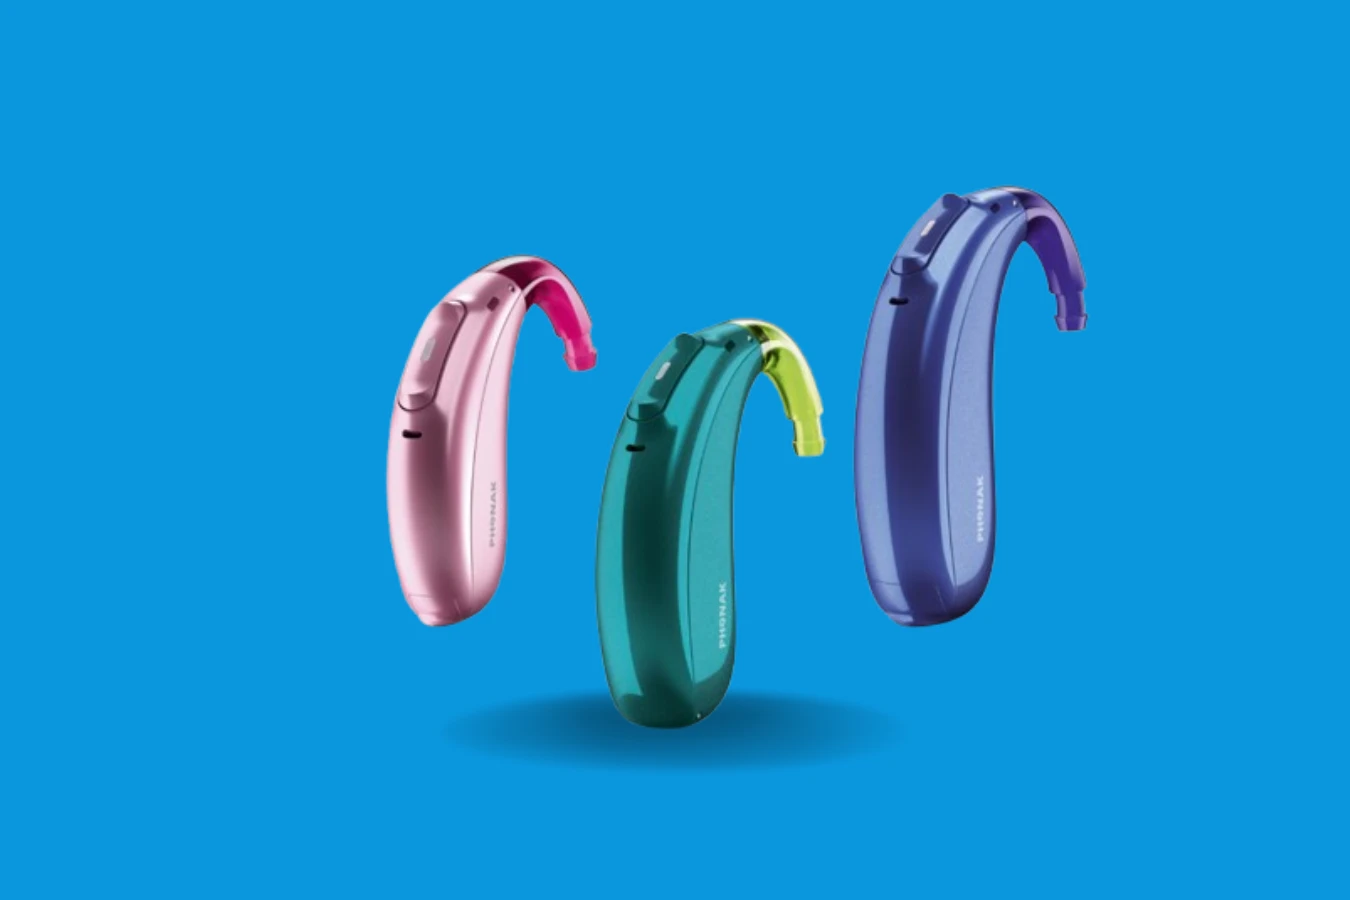
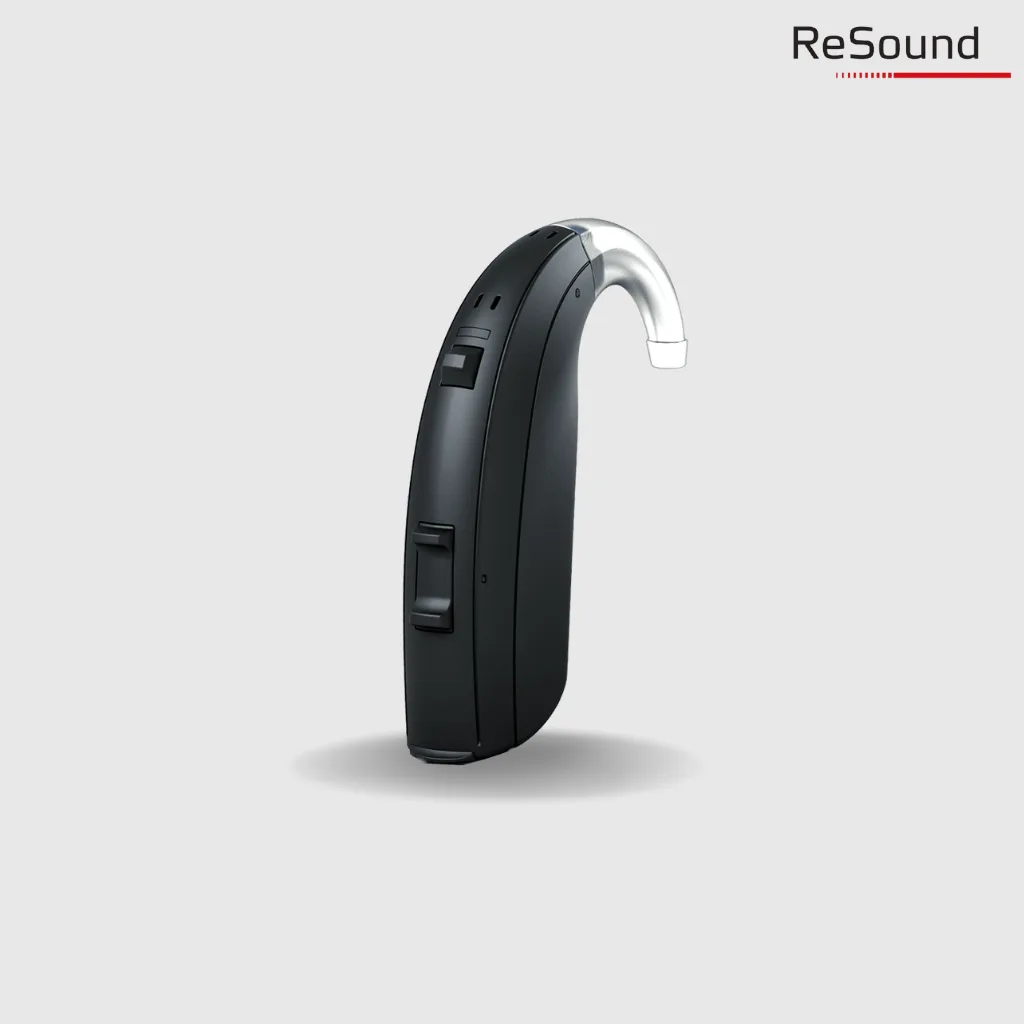
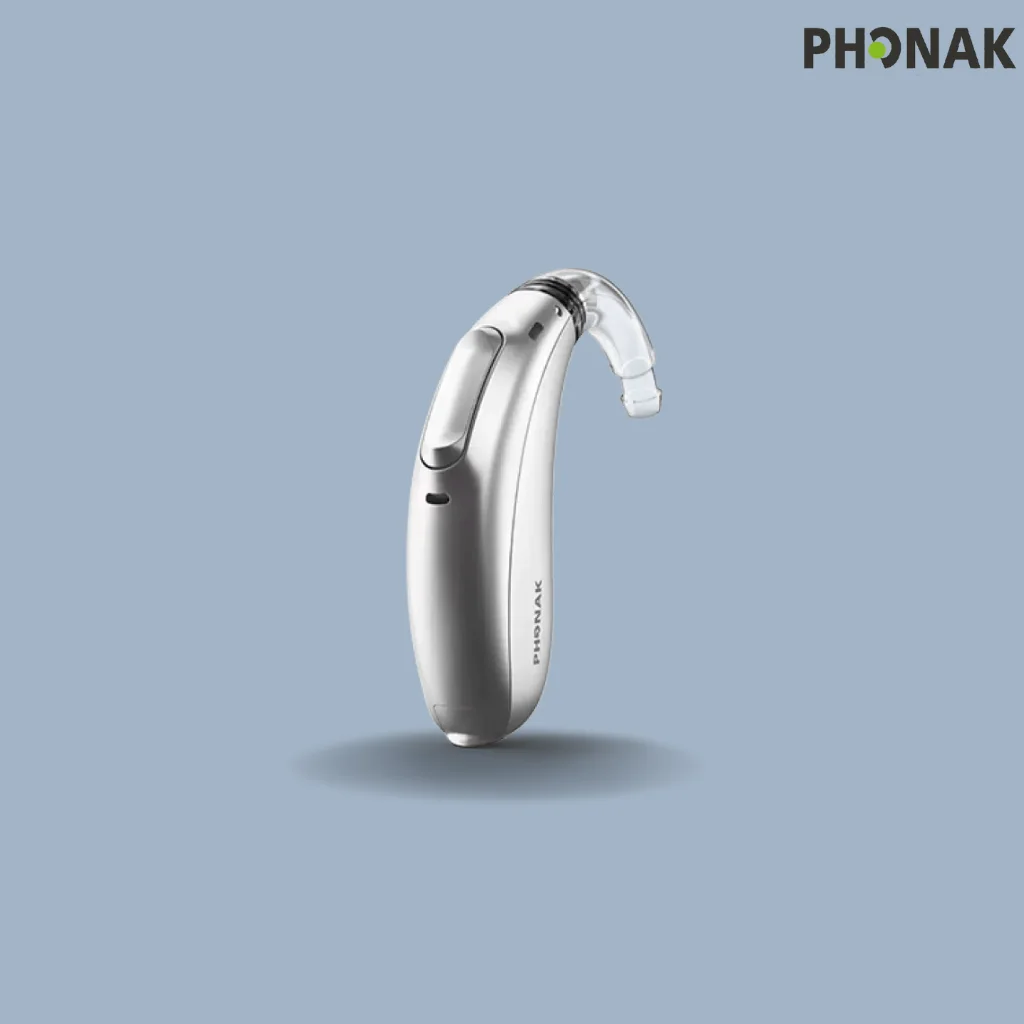
Behind-the-Ear Hearing Aids
Wipe the hearing aid body with a soft, dry cloth. Inspect the earmould and tubing for wax, moisture, cracks, or blockages.
Some detachable earmoulds can be washed after they have been completely disconnected from the electronic hearing aid. However, they must be completely dry before being reattached.
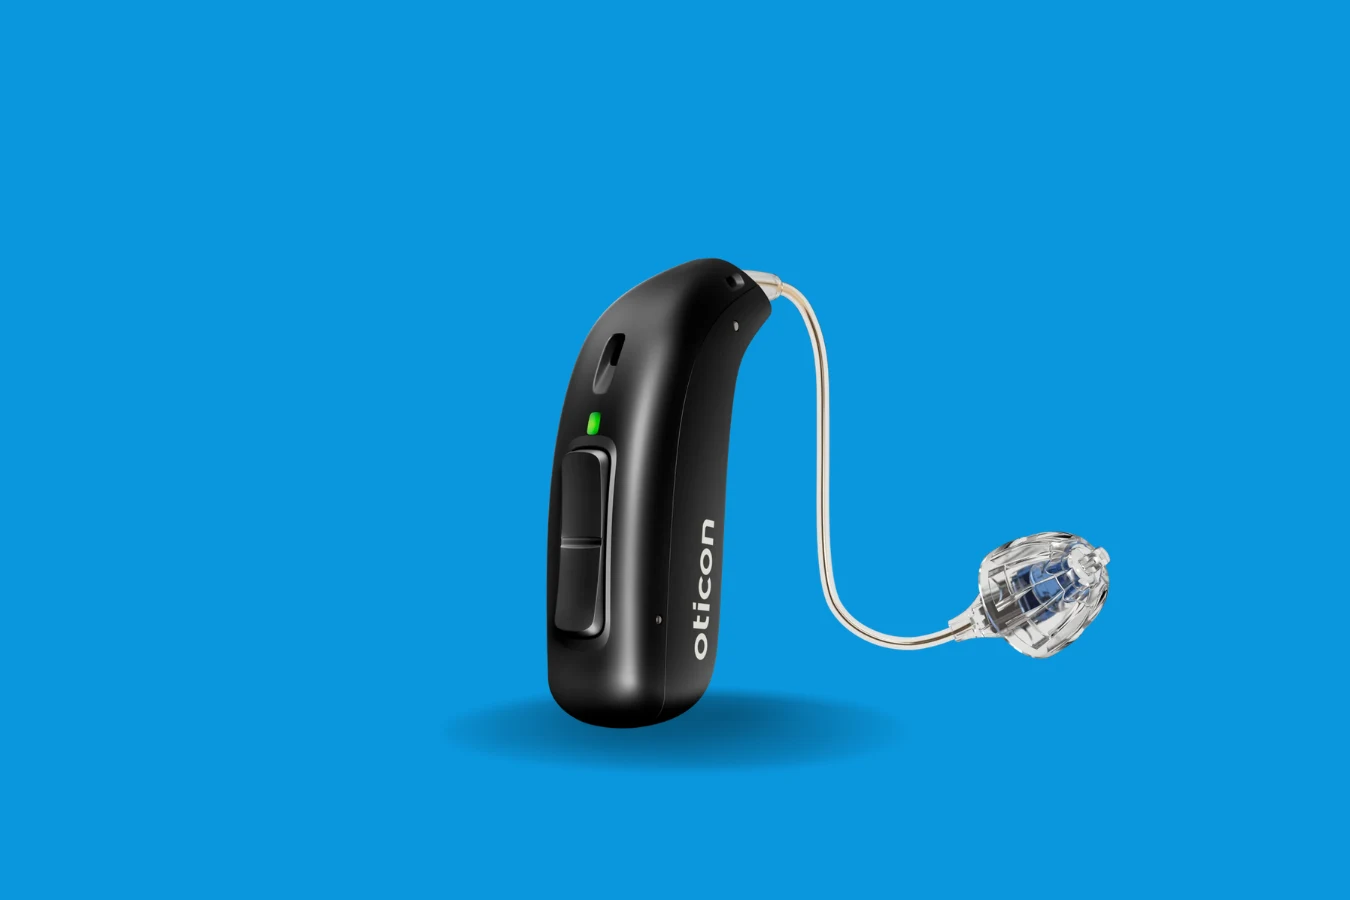
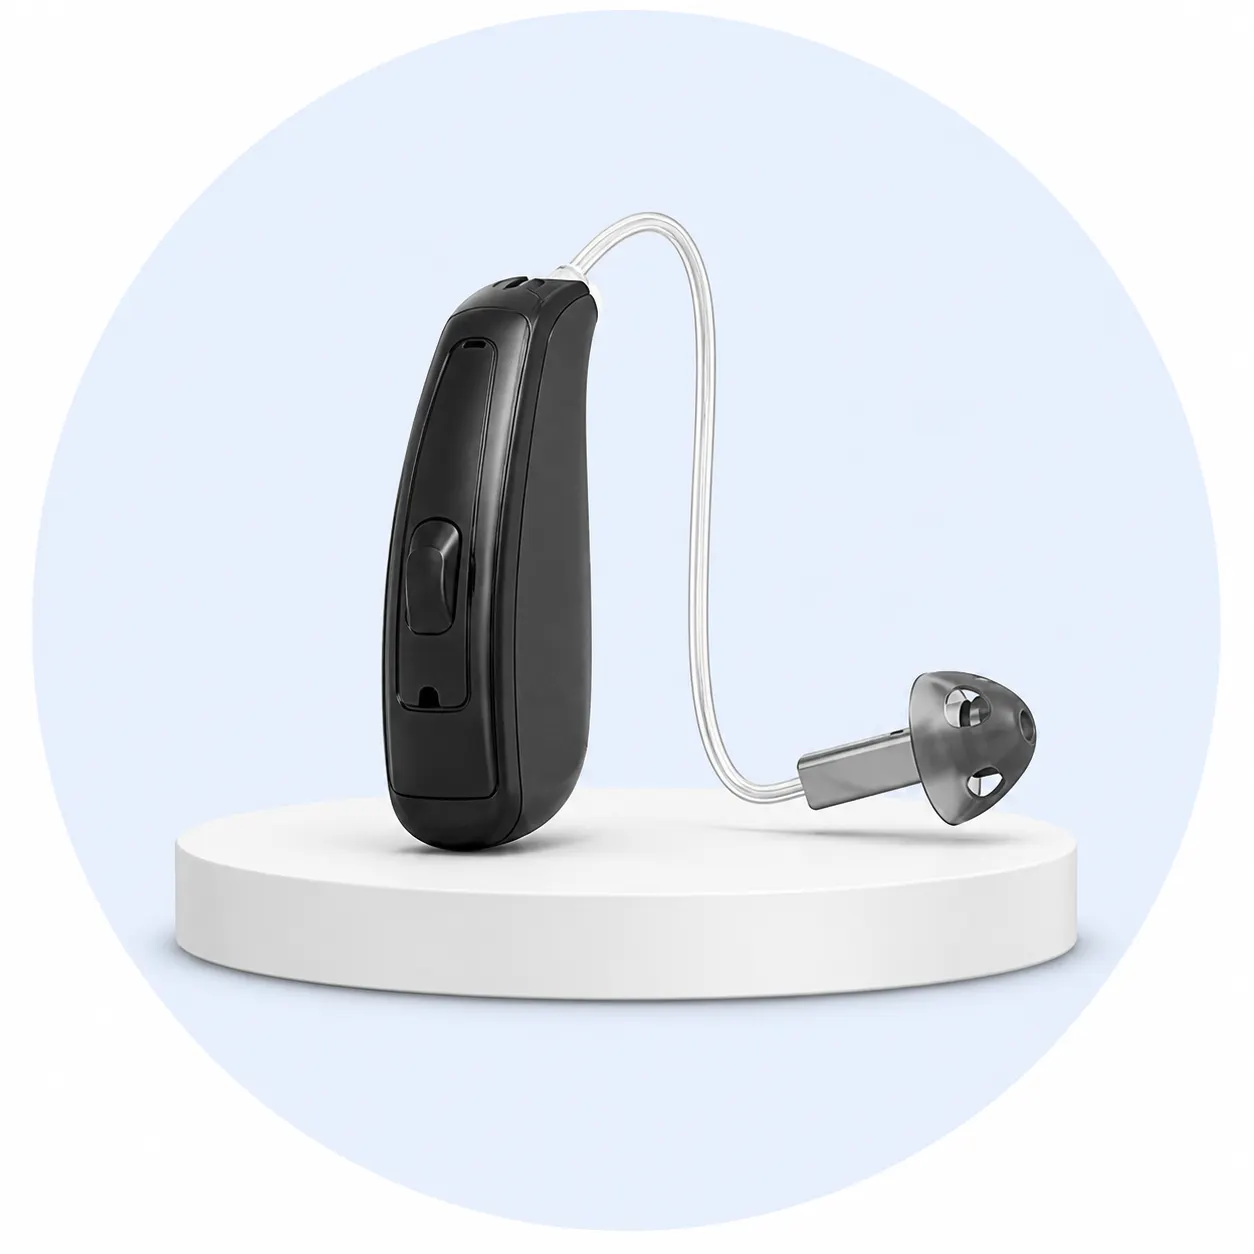
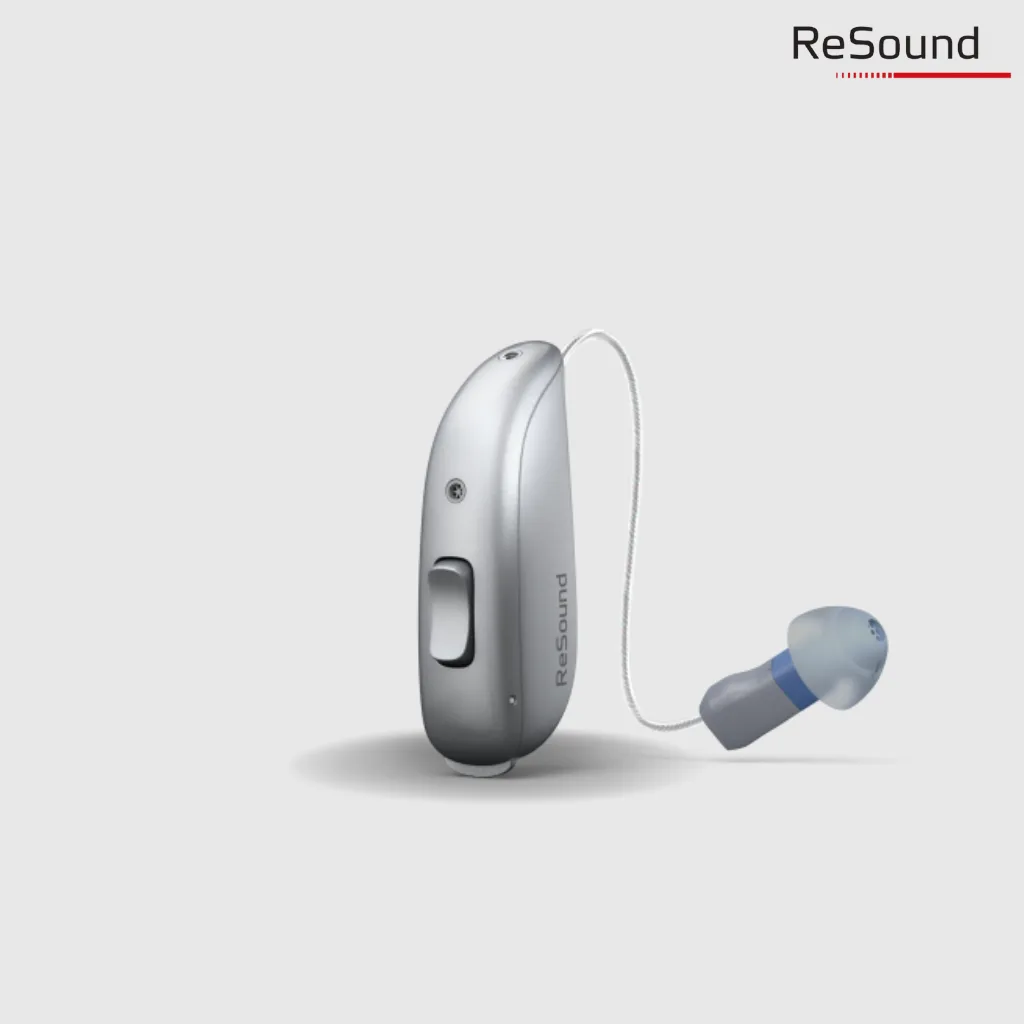
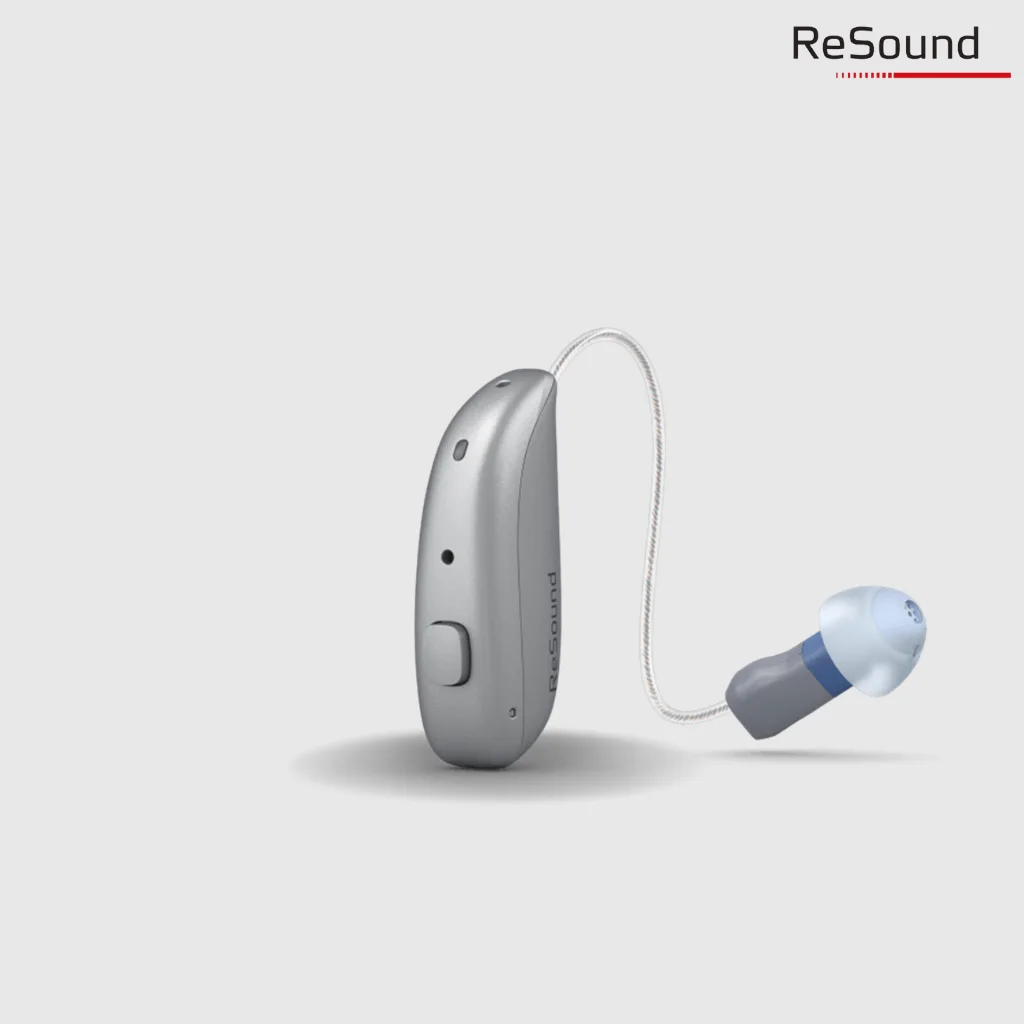
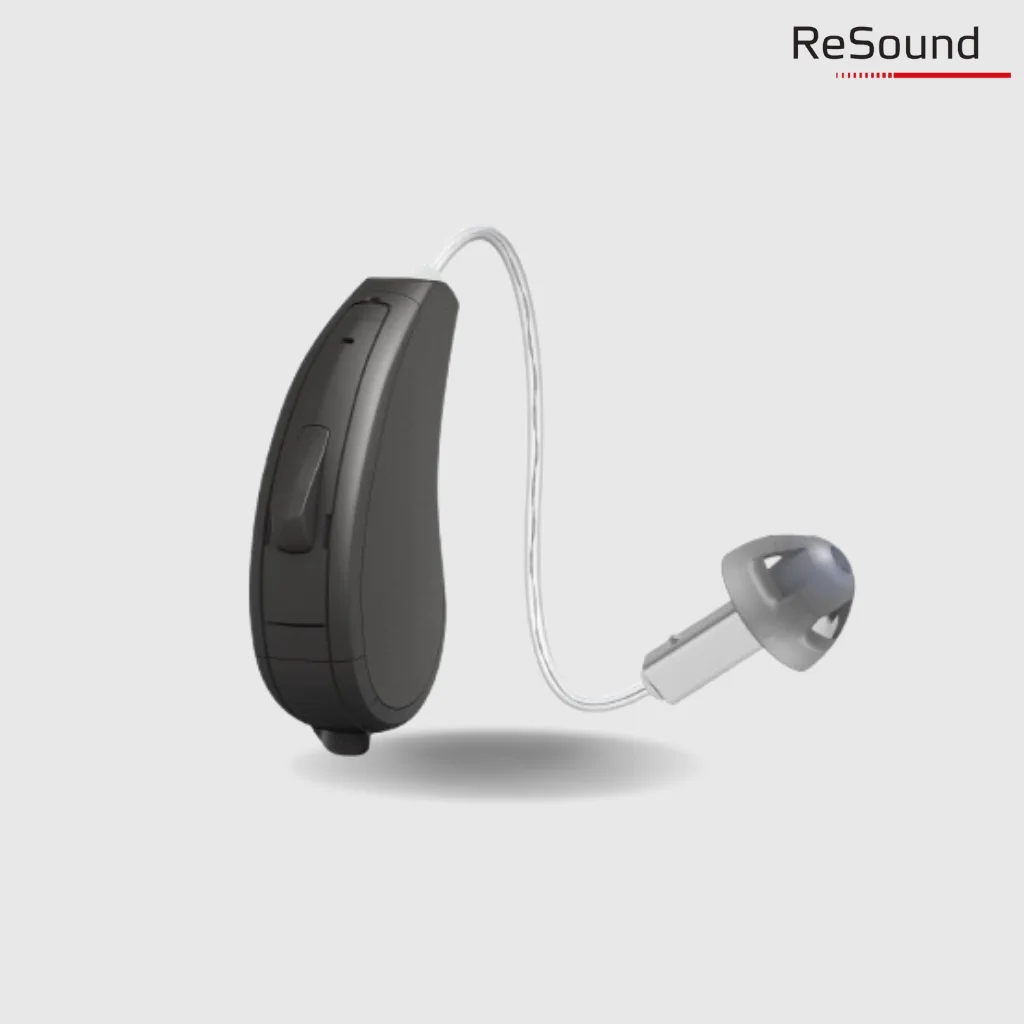
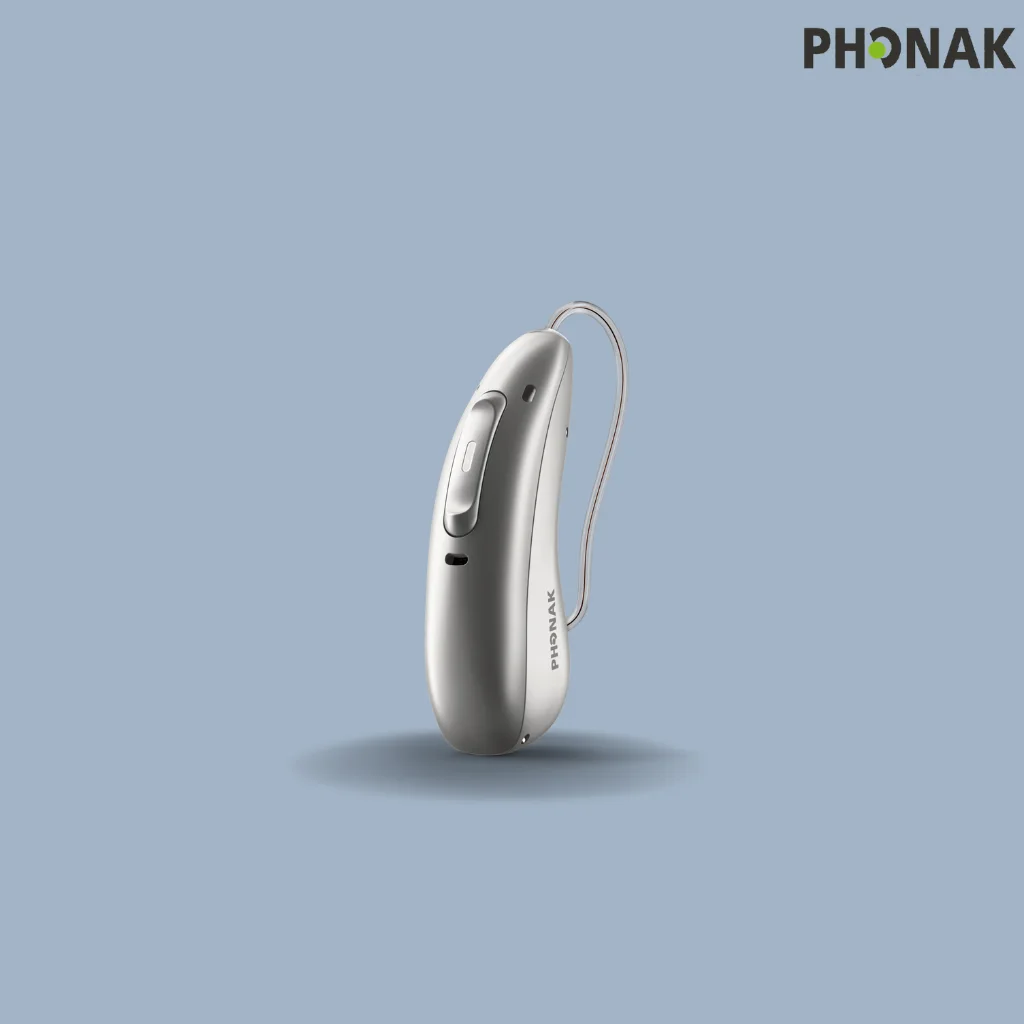
Receiver-in-Canal Hearing Aids
Carefully wipe the dome and inspect the wax guard. Replace disposable domes and wax guards only as directed by your audiologist or manufacturer.
The receiver contains sensitive electronics. Therefore, never wash or immerse it in water.
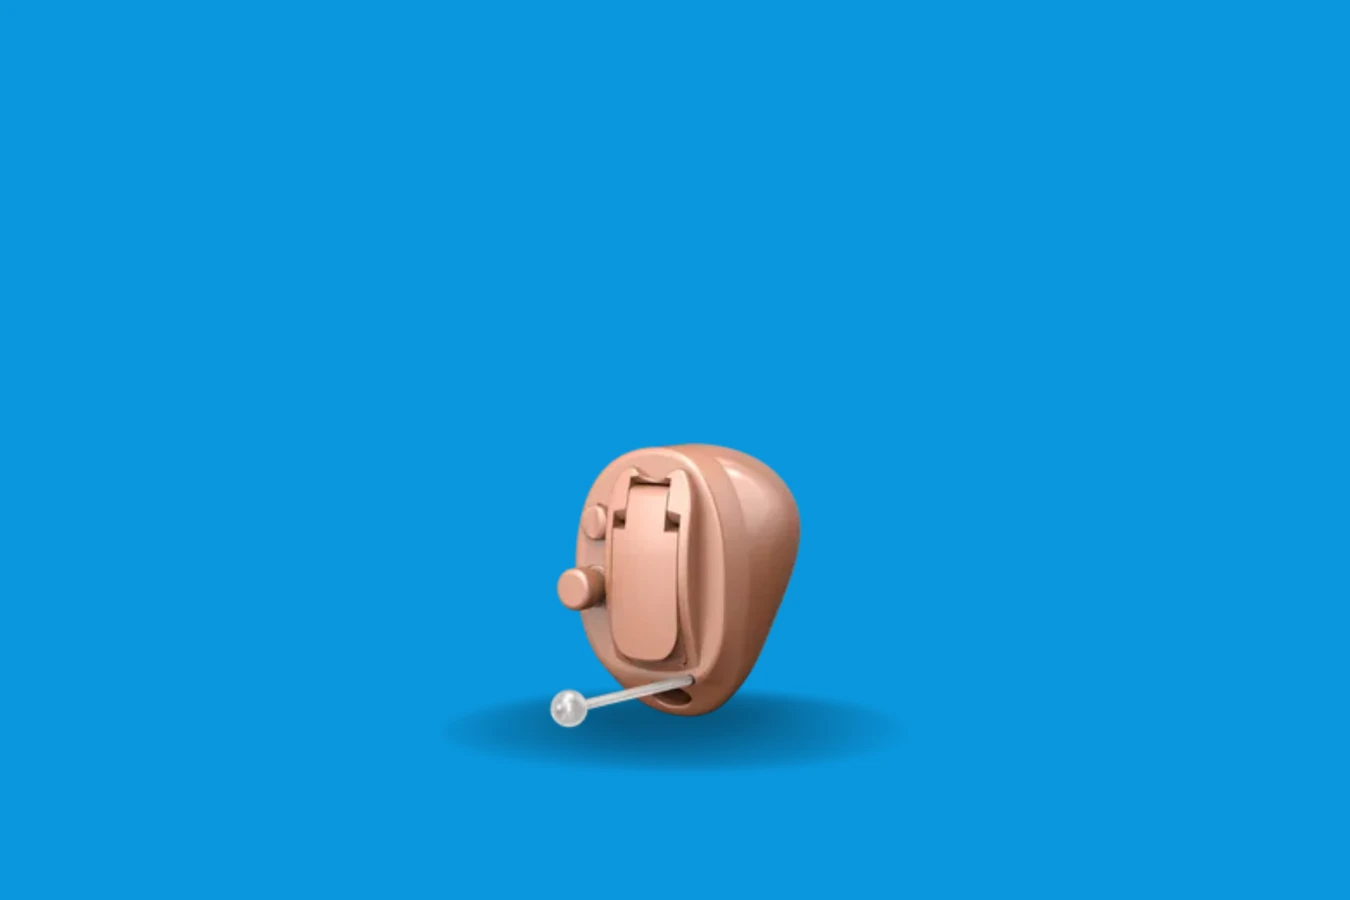
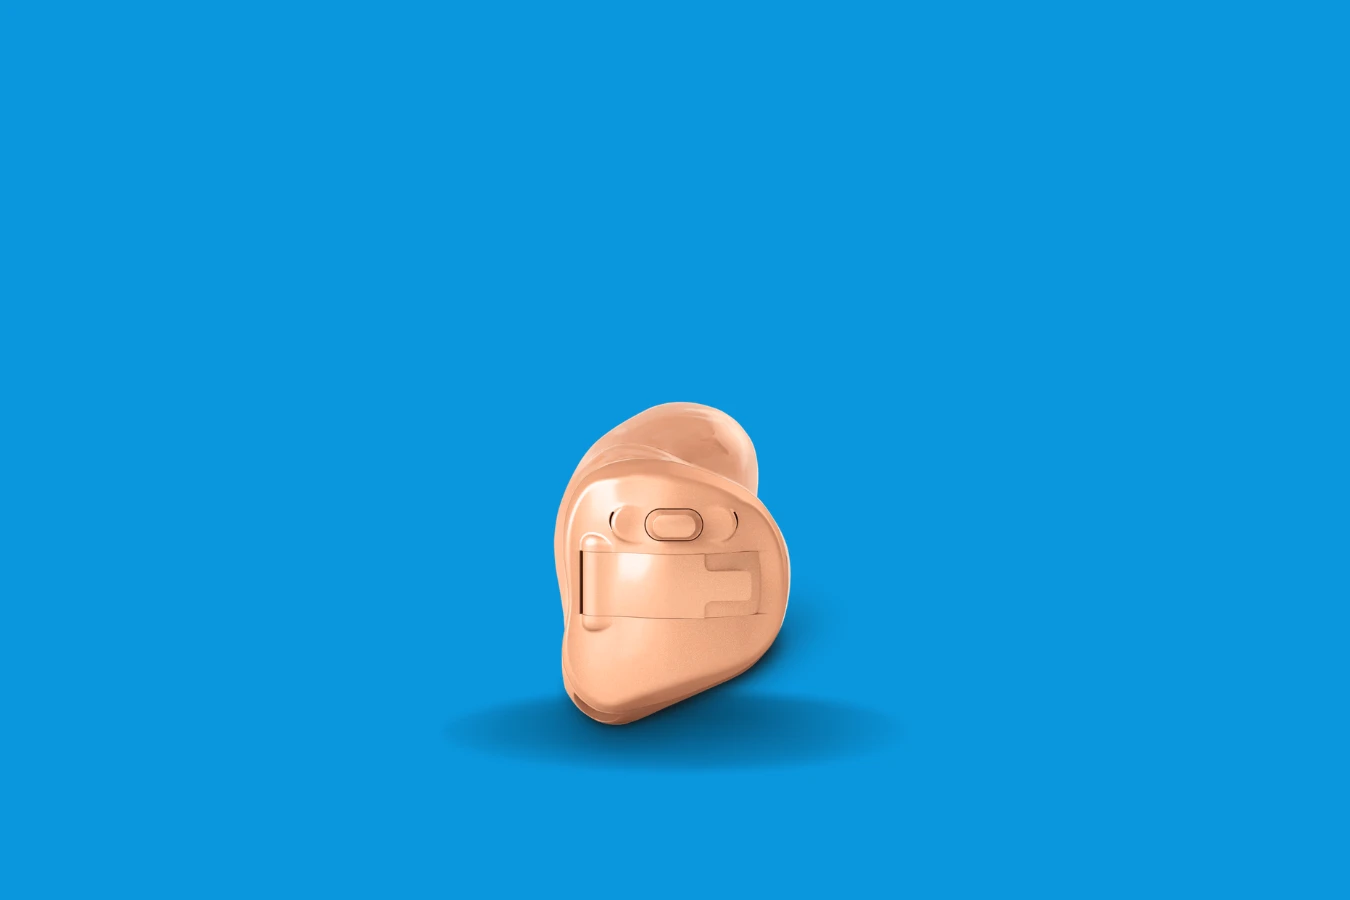
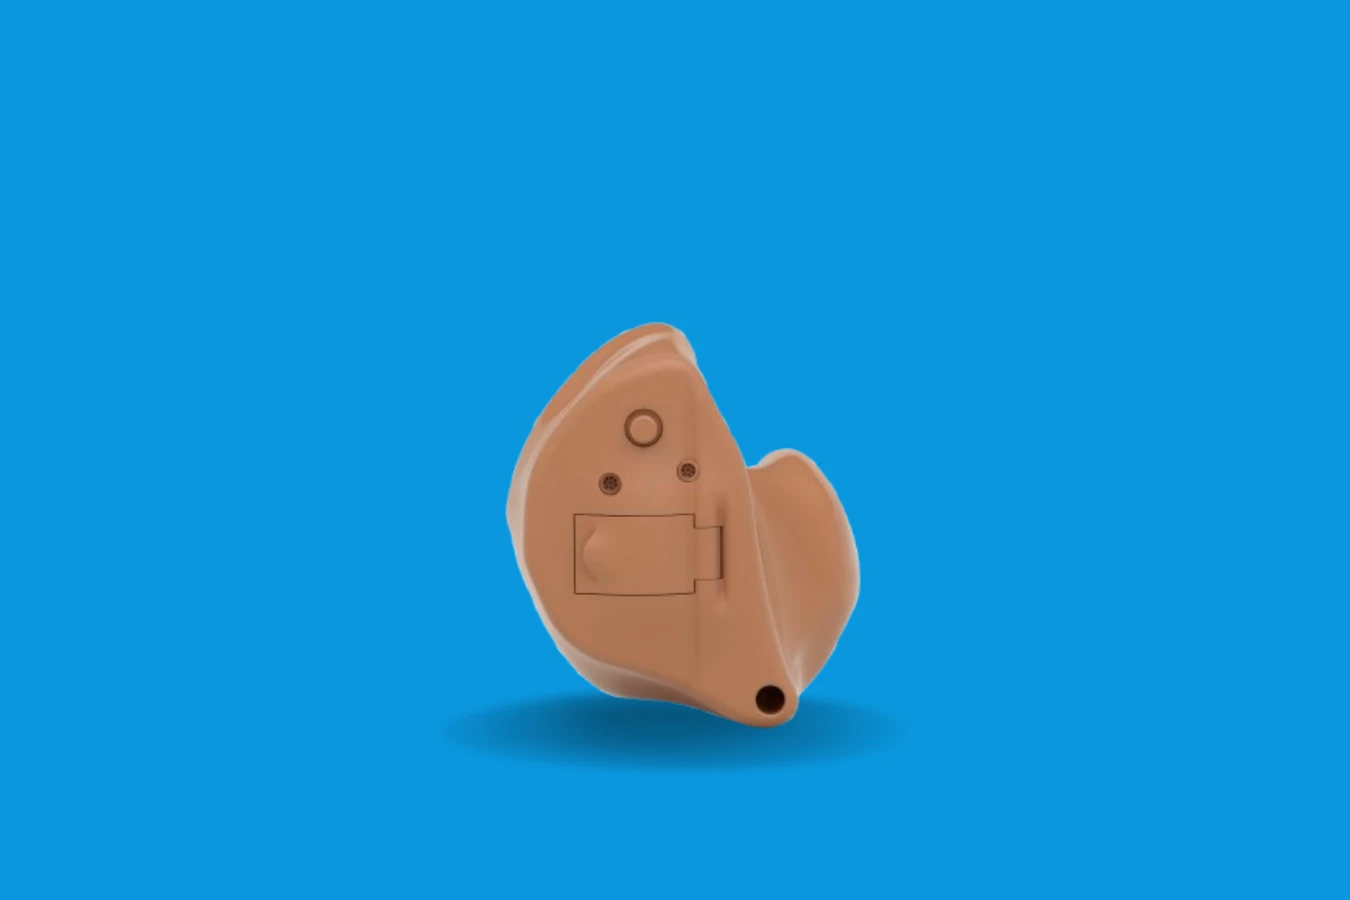
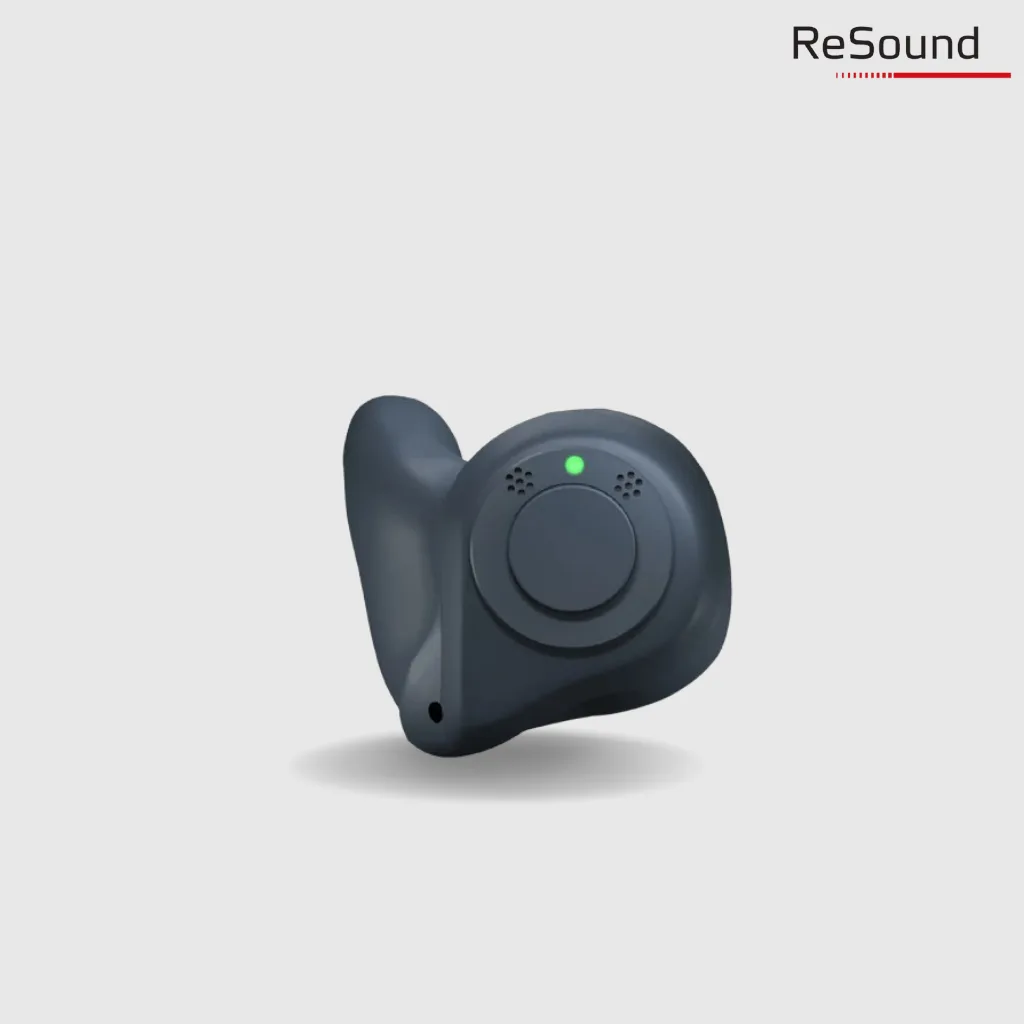
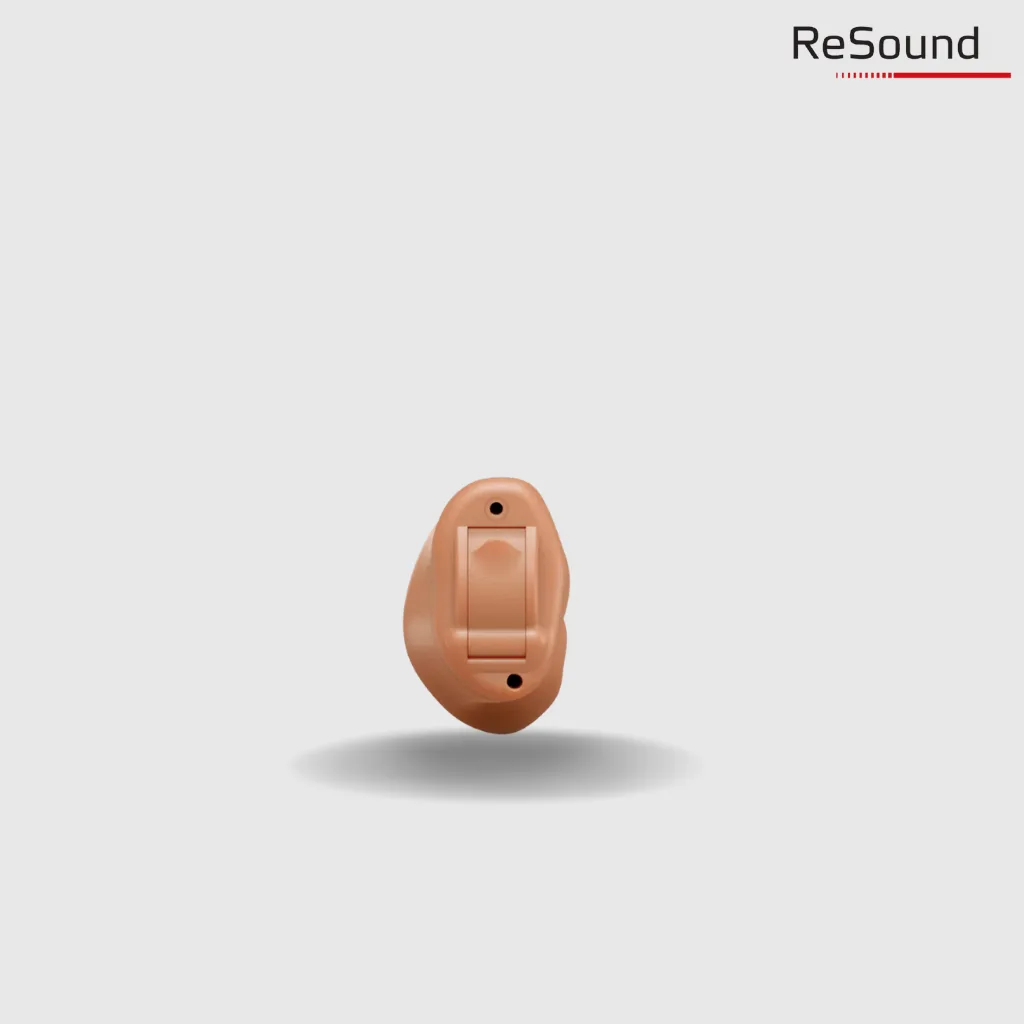
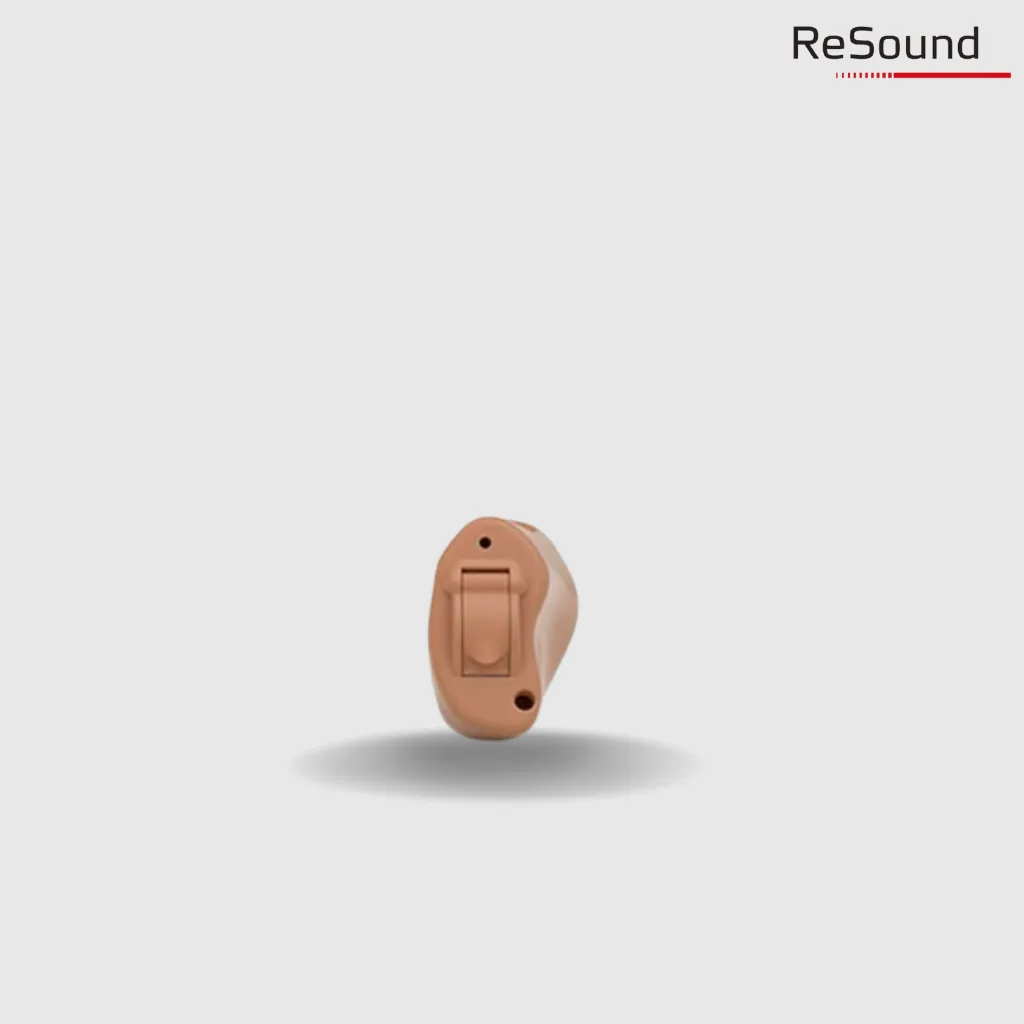
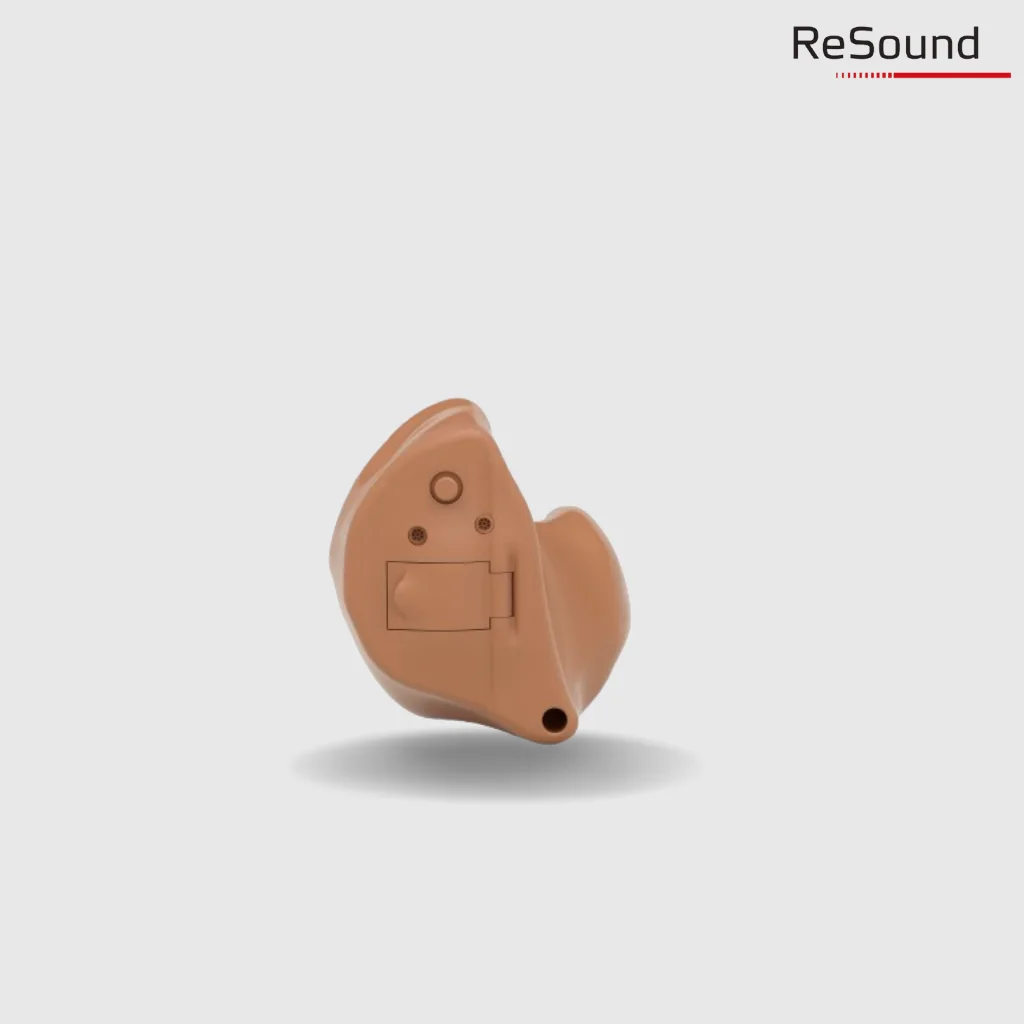
In-the-Ear Hearing Aids
Use a soft brush to clean the microphone and receiver openings. Hold the opening downward while brushing. Avoid applying liquid directly to the device.
Official NHS guidance also recommends checking hearing aid tubing and earmoulds regularly for wax and blockages. Cambridge University Hospitals hearing aid care guide
6. Care for Batteries and Chargers
For hearing aids with disposable batteries, open the battery compartment at night unless the manufacturer recommends otherwise. This allows air to circulate and may help reduce trapped moisture.
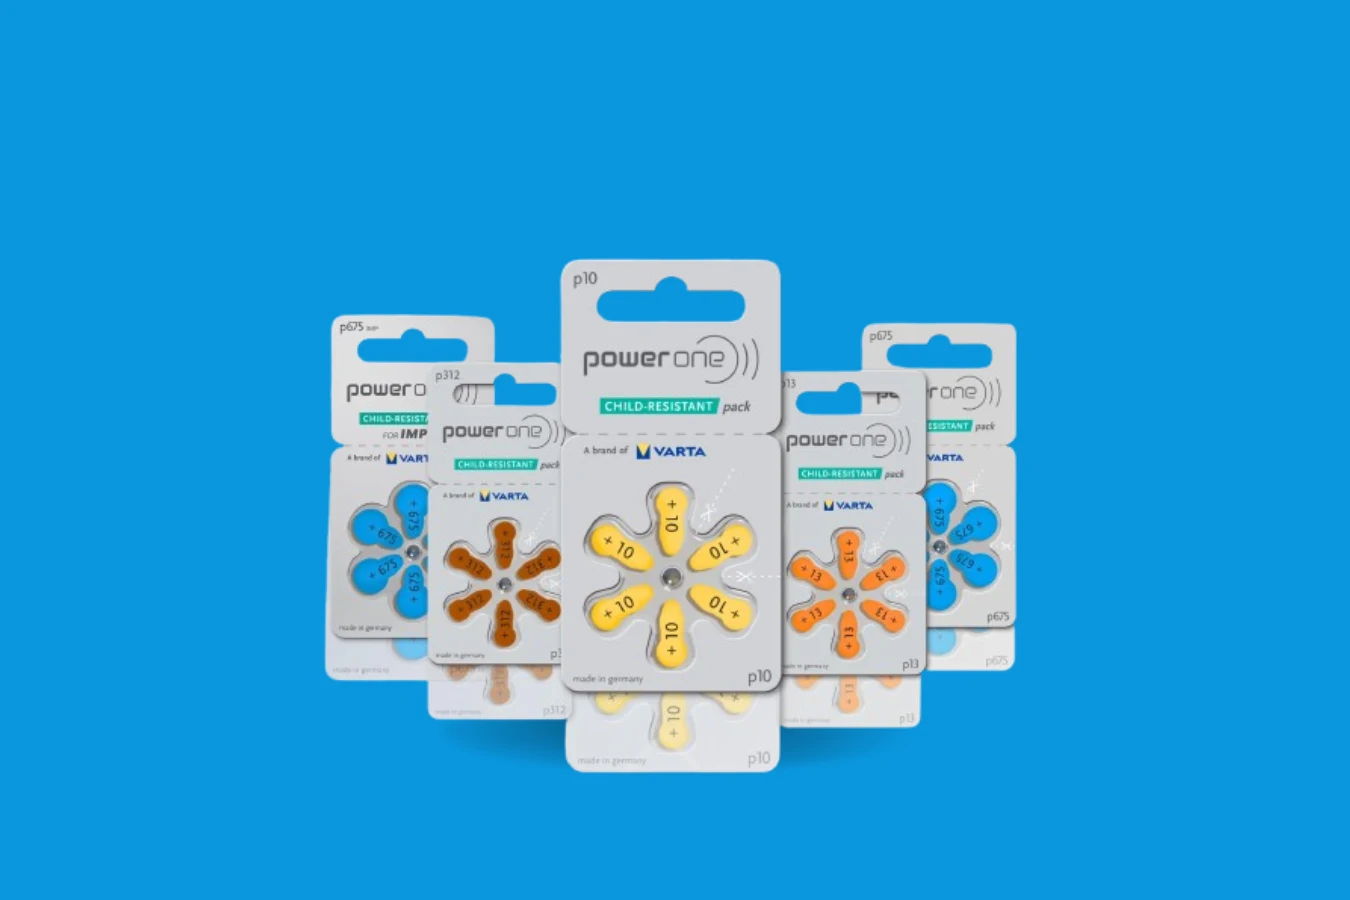
Replace dead batteries promptly. Store unused batteries in their original packaging, away from metal objects. Most importantly, keep batteries and hearing aids away from children and pets because small batteries can be extremely dangerous if swallowed.
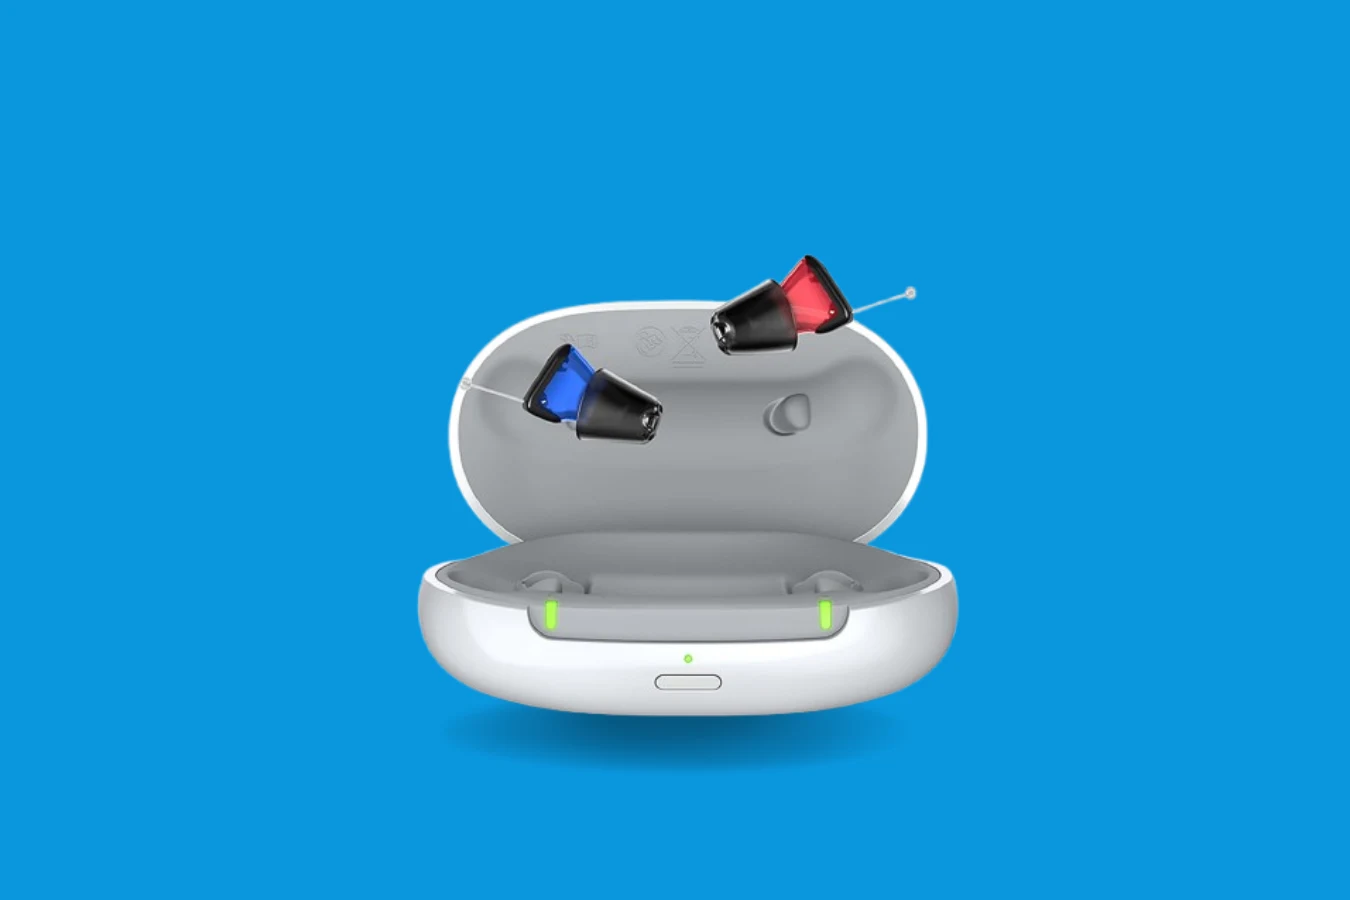
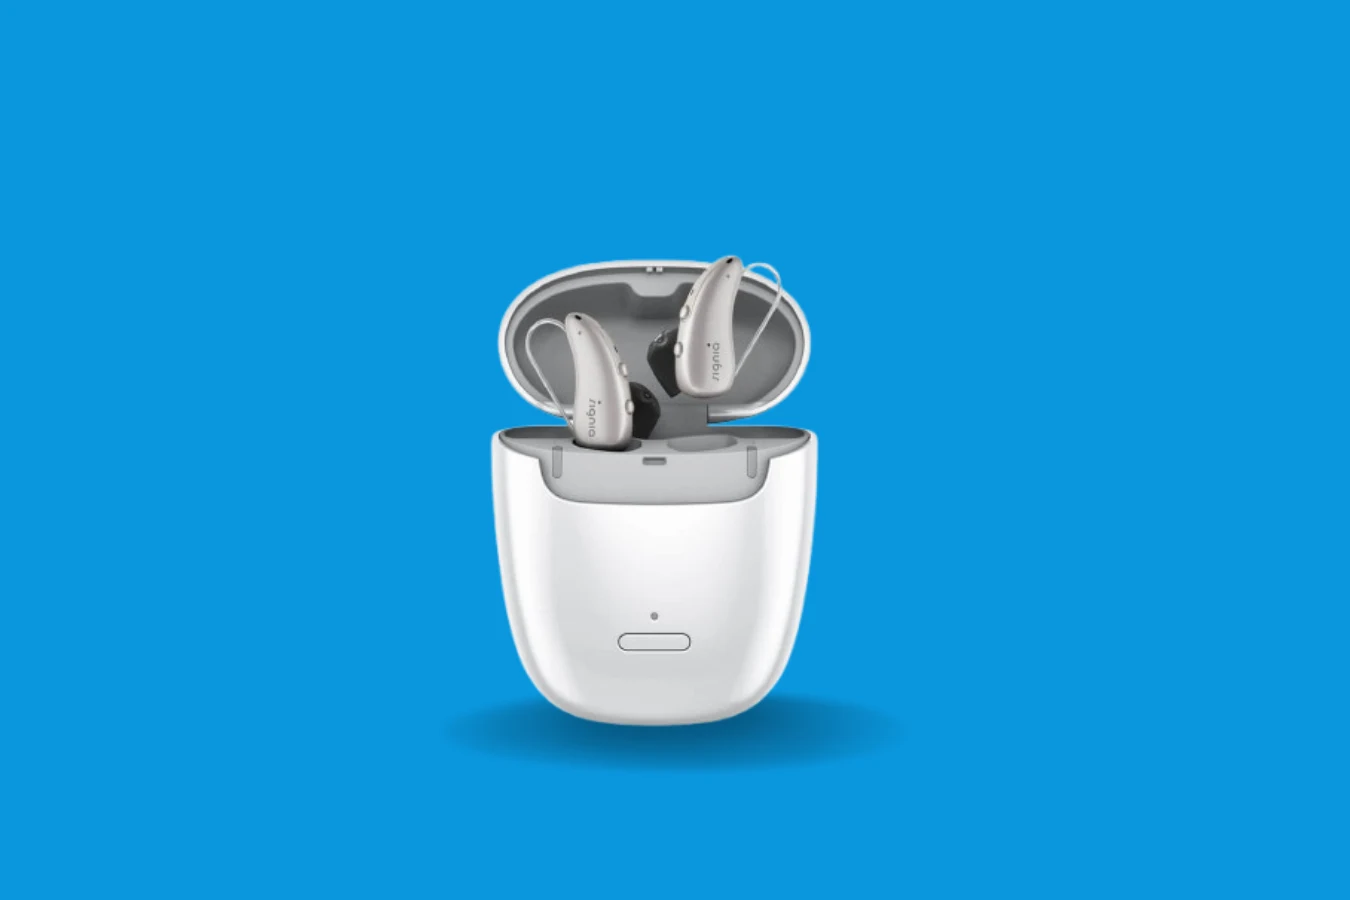
For rechargeable hearing aids, wipe the charging contacts with a clean, dry cloth. Ensure the device and charging port are dry before charging. Use only the approved charger and power accessories.
If the hearing aid does not charge, inspect the contacts for debris before assuming the battery has failed.
7. Schedule Professional Hearing Aid Maintenance
Home care cannot replace professional servicing. An audiologist or hearing care specialist can inspect the microphone, receiver, tubing, programming, battery performance, and physical condition of your device.
Arrange a professional check if you notice:
- Weak or distorted sound
- Frequent whistling or feedback
- Intermittent performance
- Rapid battery drain
- Damaged tubing or casing
- Persistent moisture
- Discomfort while wearing the device
- No improvement after replacing the battery or wax guard
Avoid opening the casing or attempting an electronic repair yourself. Doing so may cause further damage and affect the warranty.
A Simple Hearing Aid Maintenance Schedule
Every Day
Wipe the device, remove visible wax, check the dome or earmould, and store it safely in a dry place.
Every Week
Inspect the microphone openings, tubing, wax guard, battery compartment, and charging contacts. Clean only with approved tools.
Every Few Months
Review the fit, condition, and performance with your hearing care provider. The ideal service interval depends on your hearing aid, earwax production, climate, and daily use.
Frequently Asked Questions
How often should I clean my hearing aid?
Light cleaning should usually be performed every day. A more detailed inspection can be completed weekly. Always follow the cleaning schedule provided for your specific model.
Can I clean my hearing aid with alcohol wipes?
Generally, you should not use alcohol, household disinfectants, solvents, or cleaning sprays unless the manufacturer specifically approves them. These products may damage the casing, protective coating, or internal electronics.
Can I wash my hearing aid with water?
Never wash or immerse the electronic hearing aid. Certain removable earmoulds may be washable after complete detachment, but you should confirm this with your audiologist.
Why does my hearing aid sound weak after cleaning?
The wax guard may still be blocked, the battery may be low, or moisture may be trapped in the tubing. Check the user guide and replace approved disposable components. If the problem continues, arrange professional servicing.
How often should wax guards be replaced?
There is no universal schedule. Replacement depends on the model and the amount of earwax you produce. Replace the guard when it appears blocked or when sound quality decreases, following the manufacturer’s instructions.
Where should I store my hearing aid at night?
Store it in its protective case or an approved drying container, away from heat, humidity, children, and pets. Avoid bathrooms because they often contain excess moisture.
Conclusion
Effective hearing aid maintenance does not require a complicated process. A few careful minutes each day can help preserve sound quality, improve comfort, and identify minor problems before they become expensive repairs.
Remember the essentials: keep your hearing aid clean, keep it dry, control earwax, inspect its components, and arrange professional servicing when necessary. Most importantly, follow the instructions designed for your specific model.
If your hearing aid remains weak, uncomfortable, or unreliable after basic cleaning, contact an audiologist. Professional support can restore performance safely and help you continue hearing with greater confidence


First-Time Hearing Aid User? 9 Essential.
Introduction Wearing hearing aids for the first time can feel exciting, emotional and slightly overwhelming. Everyday sounds—such as birds singing,.
Read More
9 Common Causes of Hearing Loss.
Introduction Have you started increasing the television volume, asking people to repeat themselves, or struggling to follow conversations in busy.
Read More